V2V - VM MIGRATION
V2V - VM MIGRATION
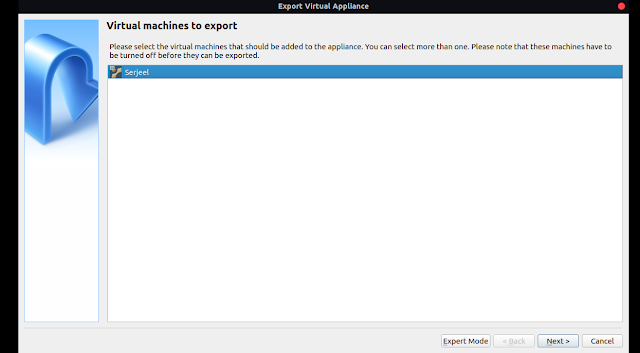
Step 1:- First step is to Export Appliance
Press Ctrl+E to export appliance
Step 2:It is Exporting to disk image 'Serjeel.ova'


Step 6:Virtual Machine "Serjeel 1" is created.

Step 7: Starting and running ubuntu in new vm


Comments
Post a Comment